Job management and invoices is now handled by Okappy’s simple job sheet software. With Okappy you can easily connect to your external accounting packages such as Sage Line 50 and Xero.
Find out more about raising an invoice for a job and exporting jobs to Sage.
From within the Okappy invoices page, simply click on the Sage icon ( ![]() ) to export your invoices. The system will create a CSV file with the following Sage fields pre-populated:
) to export your invoices. The system will create a CSV file with the following Sage fields pre-populated:
| Column | Field | Details |
|---|---|---|
| A | Type | Sales invoice |
| B | Account Reference | This a reference you use to recognise a customer in Sage, i.e., MISC |
| C | Nominal AC Ref | The account you are posting the sales invoice to, typically in the range 4000 |
| D | Department | |
| E | Date | Tax date of the invoice |
| F | Reference | The AutoAlert invoice ID |
| G | Details | This picks up the Job ID (if available) and any description |
| H | Net Amount | Net amount of your invoice |
| I | Tax Code | The tax code, typically T1 for standard rate VAT |
| J | Tax Amount | The amount of VAT on your invoice |
The following fields are not exported from AutoAlert, but can be added to the spreadsheet if required before uploading to Sage.
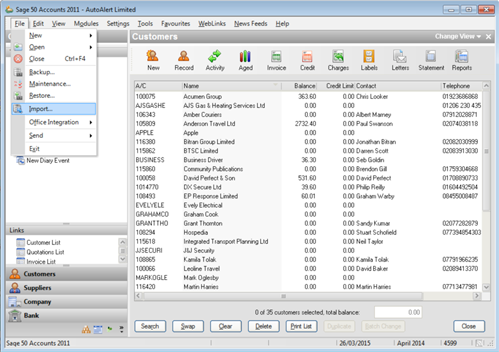
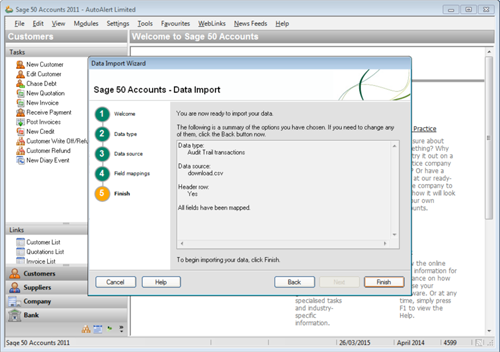
To import your file into Sage:
Open Sage, make sure all other Sage windows are closed and then go to File > Import
The Data Import Wizard will be shown.
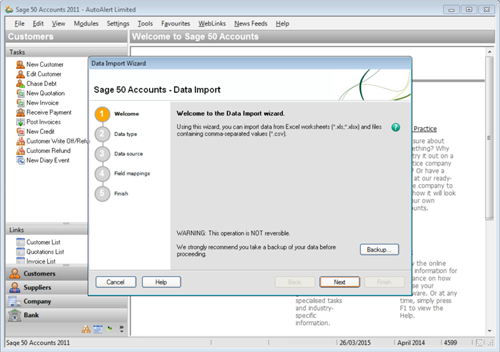
To be on the safe side it’s always worth backing up your data first by clicking on the Backup button.
I also find it easier if you have made an error with your import, or while testing as you can easily go back to the state of your accounts prior to the upload.
Click Next

Select the data type of Audit Trail transactions and click Next
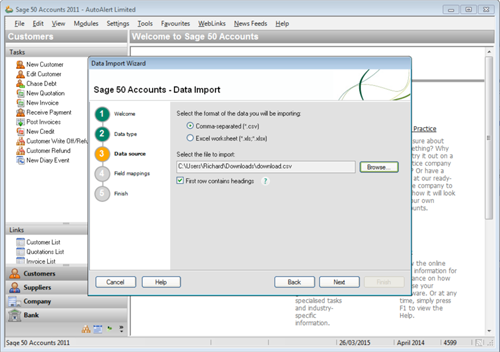
Note: Once you’ve selected the file you may need to again check the option for CSV as Sage sometimes defaults back to xlsx and then shows an error saying the file cannot be read. It also helps to click open rather than double clicking on the file name to select the file.
Click Next
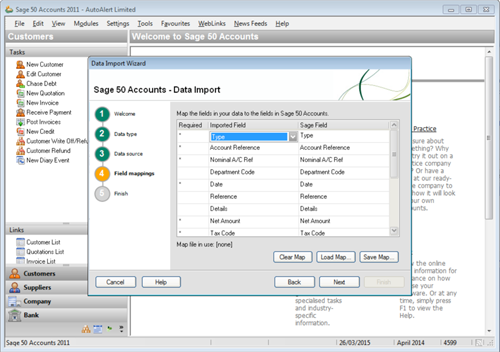
Choose Field mappings to match the column in the spreadsheet to your relevant Sage fields. The file is set out in the order required by Sage, so simply select A though I for each Sage field as shown below.
Click Next, then click Finish to import your data.
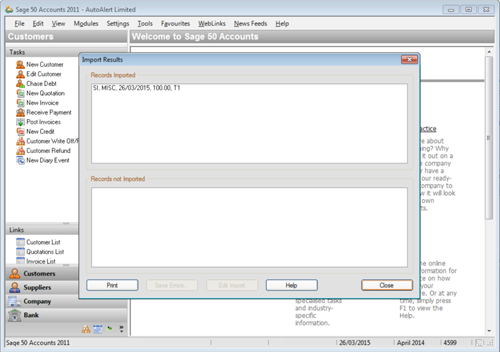
If all goes well, the following screen will show the invoices which have been imported.
If there are errors with the import file, the errors will be shown.
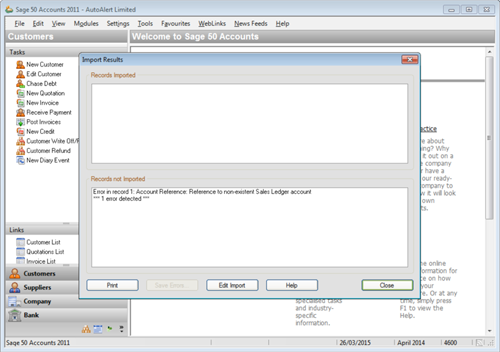
Typically errors could occur if the file has data for a field which is not matched in Sage, i.e., if you have a client identifier of MISA in AutoAlert but it is MISC in Sage or if a nominal code is used such as 4200 which is not present in your Sage chart of accounts.
Any errors can be corrected within the spreadsheet and then re-uploaded using the process above.
Note: Once your invoices have been exported from AutoAlert, they cannot be exported again so it is often worth keeping a copy of the export file.
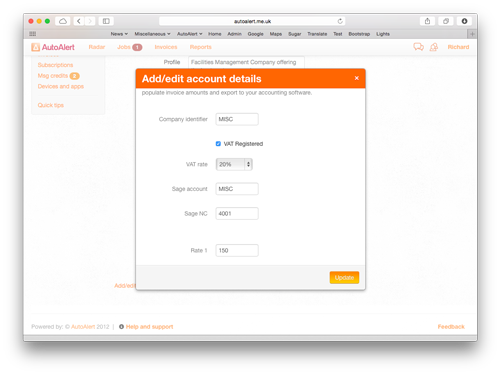
You can also check the account details from within AutoAlert to make sure the file is populated correctly the next time.
More information on Okappy Job Management.


 0207 099 5698